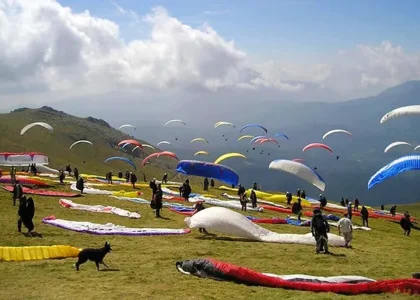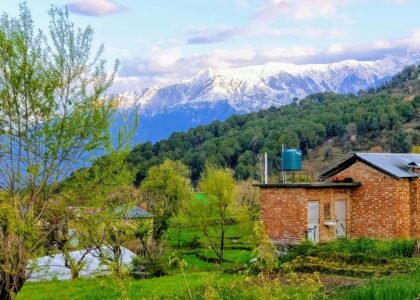

Bir Billing, nestled in the attractive Himalayas, is renowned as one of the world’s highest paragliding points. The charming experience of climbing above lush landscapes, serene villages, and green tea gardens is something every adventure fanatic dreams of. But how do you capture these memorable moments? Here’s a guide to help you photograph your Bir Billing paragliding adventure.
1. Choose the Right Equipment
For capturing top-quality photos, having the right gear is essential. A compact camera with good zoom skills or a GoPro can be ideal for paragliding. GoPros are particularly general for such adventures due to their durability, wide-angle lens, and the ability to attach to your helmet or harness, allowing for hands-free shooting.
2. Prepare for the Conditions
Paragliding in Bir Billing involves flexible weather surroundings and altitudes. Make sure your camera or GoPro is weatherproof and can handle high altitudes. Check the battery life and storage space before you take off. Carry extra batteries and memory cards to ensure you don’t miss any moments.
3. Pre-Flight Preparations
Before taking off, explain yourself with your equipment. Practice shooting with gloves if it’s cold. Set your camera to a high shutter speed to capture clear images despite the movement. If using a GoPro, choose the right stands and angles for the best shots.
4. Capture the Takeoff
The takeoff is one of the most exciting parts of the paragliding experience. Capture the excitement and expectation on your face and the ground crew’s activity. A wide-angle shot showing the vast expanse of the takeoff site can create a dramatic effect.
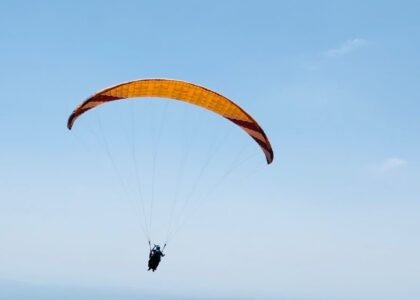
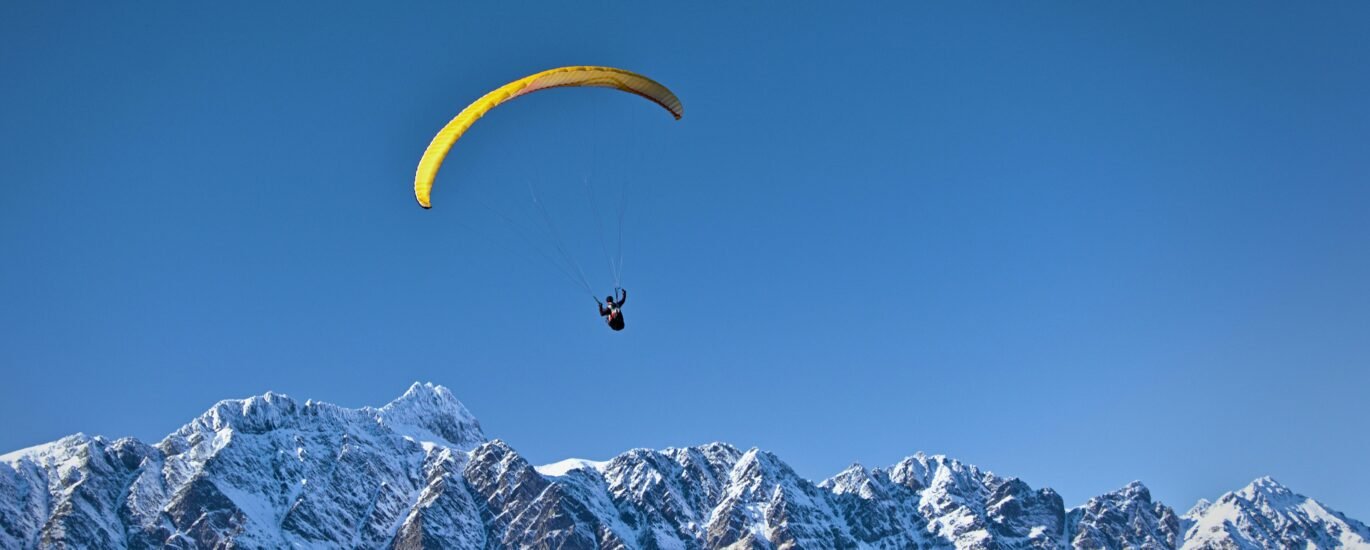
5. Embrace the Aerial Views
Once airborne, focus on the fabulous aerial views. The bird’s-eye vistas of the Dhauladhar Range, the lush plants of the Kangra Valley, and the quaint villages below offer a visual treat. Experiment with different angles: a downward shot captures the landscape, while an mounting shot can include your paraglider wing, adding context to your photos.
6. Capture Your Expressions
Don’t forget to turn the camera towards yourself occasionally. Your expressions of joy, excitement, and awe are essential to the story of your adventure. A selfie stick can be handy for these shots, giving a broader viewpoint that includes both you and the scenery.
7. Use Burst Mode
Given the rapid activities and dynamic nature of paragliding, using burst mode can help capture multiple frames in quick succession. These growths the likelihood of getting the perfect shot, whether it’s a candid moment or a breathtaking landscape.
8. Focus on Landmarks
Bir Billing is dotted with many landmarks and points of interest. Capture the Bir Tibetan Colony, with its beautiful monasteries and exciting culture, or the sprawling tea gardens. These iconic wonders add depth and context to your photo collection.
9. The Landing Moments
Just like the takeoff, the landing is full of action and excitement. Capture the moment when your feet touch the ground, the expressions of satisfaction, and the admiring gestures from the ground crew. These photos signify the completion of an incredible journey.
10. Post-Processing
After your adventure, spend some time editing your photos. Adjusting brightness, contrast, and saturation can boost your images. Use editing software to crop and straighten your shots, ensuring they look their best before sharing them with the world.
Conclusion
Photographing your Bir Billing paragliding experience is as thrilling as the flight itself. With the right research and techniques, you can capture fabulous images that preserve the memories of this adventure forever. So, pack your camera, embrace the skies, and let the beauty of Bir Billing unfold through your lens. Happy flying and happy shooting!